How To Create Locations
Step 1: Create a new location
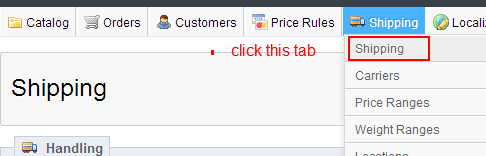
In your back office, a new page named “Locations” has been added under the Shipping menu. You can access this page by hovering over the “Shipping” tab and clicking “Locations”.
1. Click on "Locations" under the "Shipping" tab (which can be found at the top of your screen).


2. Click ”Add new" button.
Clicking "Add new" button launches the location creation page, where you will fill out all details within forms to create the location.
![]()
3. A new page for entering “Address” is open.
- Firstly, you will fill in the complete address: including Location, Address, Post/Zip Code, City and Country.

NOTE: 1). All information should be factual so that Google Maps can locate it.
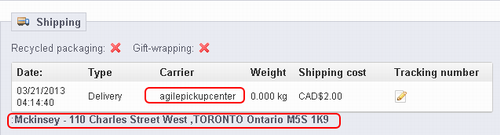
2). If the customer selected a location, its information (location, address and post code) is added to the order detail page, which is at the bottom of the shipping part.
3). If you supply an email address for the location, then once a customer confirms the order in your store with a location, an email notification will be sent to the location’s email address.
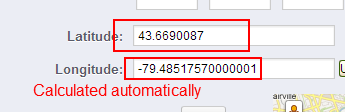
- Now click the “Update Geo data by address” tab at the bottom of the screen next to Longitude.
![]()
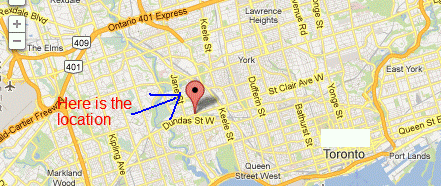
GEO data (Latitude and Longitude) will be calculated automatically, and Google Map will show the location at once to give you visual feedback. Hover your mouse cursor over the map, and it will chang from an arrow to a fist, allowing you to scroll it up or down to zoom in and out on the map.
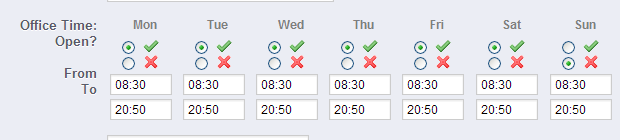
- Open date (week day) and open time settings
You can set the open dates and times here. Green check mark means open and red cross means closed on this day. The last pair “All” can help you set 7 days together.
- Finally, click “Save” at the bottom. This will redirect you to the Location page, and the location you added above will be shown on the screen. You could re-click “Add new” to create another.
Step 2: Set Price Range and Weight Range:
1. Click the sub tab "Price Ranges” under the “Shipping” tab.
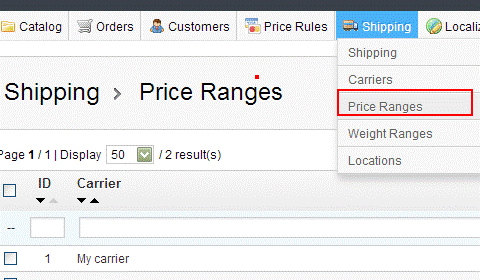
Next, click the "Add new" button on the right of the screen. You will be redirected to a new page to set Price ranges for each carrier.

Choose the Carrier “agilepickupcenter”, then enter price ranges from 0(lowest value)to 20000 (highest value) for example.
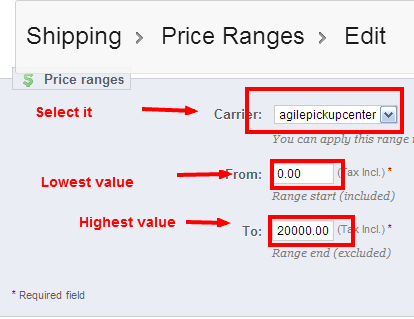
Complete the entry by saving the page.
2.Set Weight Ranges
This is similar to the price ranges setting. Click the sub tab “Weight Ranges” under the tab “Shipping”.
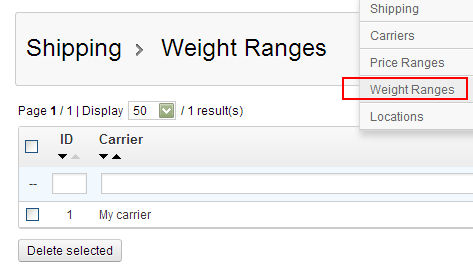
Click the "Add new" button to enter the information for weight ranges for each carrier.

A new page will be displayed with detailed weight ranges. Enter the lowest value 0 kg and the highest value 100 kg (as an example).
3. Click “Save” to return back to theWeightRangespage.
Step 3: Set shipping fees for Agile Pickup Center on Shipping page.
On this page, you will set the carrier’s shipping fees in different zones and ranges.
- Choose the carrier for “agilepickupcenter”. There are 3 parts of this page.
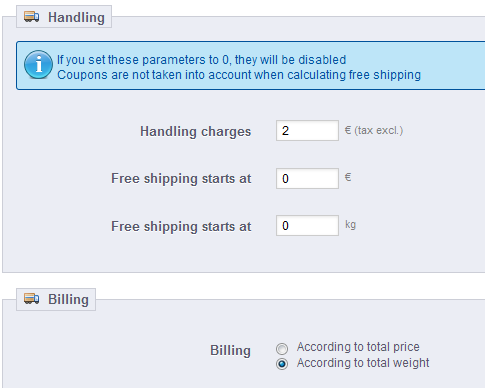
-- Part one: Handling.
- Handling charges: each order’s handling expenses, which will be added to the final purchase price. For example, CAD $2.
- Free shipping starts at:. Enter the price or weight after which your customers will receive free shipping. For instance, leave these values at 0.
-- Part two: Billing
- Weight Range
- Price Range
You must choose whether you are calculating the shipping costs by total price, or total weight.
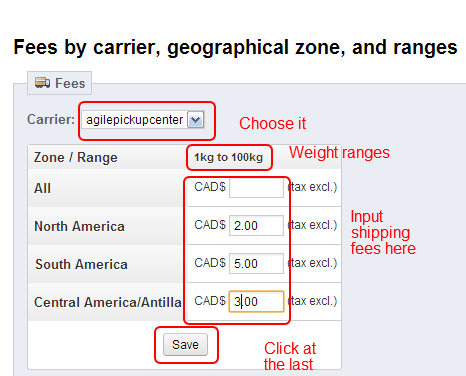
-- Part three: Fees by carrier, geographical zone, and ranges.
- Choose “agilepickupcenter”. The second row is the default setting “weight ranges”, if “according to weight range” is chosen in the second part above.
- The various zones you selected earlier will appear under Zone/ Range. Enter the desired shipping fees one by one. If you enter a value in “All”, that value will be automatically entered in all the boxes of all zones.
- Finally, save the input values. Don’t forget to save the whole page by clicking the “Save” button at the top right of the screen.