How The Prepaid Credit Module Works in the PrestaShop Store (For Store Users, Customers)
Once you have the Agile PrestaShop Membership module installed and configured in your store, you are ready to provide this service to your customers. This guide will show you what your customers will experience when you have the Agile PrestaShop Prepaid Credit module installed in your store.
If you want to know how the store admin side works and how it will benefit from this module, please check the guide for Store admin.
Index
To browse through token packages
To purchase other products with pre-paid tokens
To Browse Through Token Packages
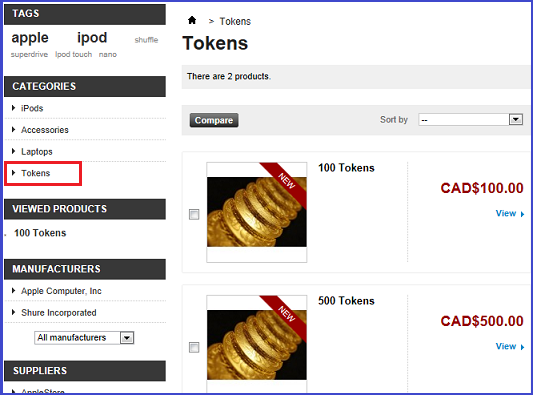
All the token products/packages are listed under the specific category, which we created and named as “Tokens” here as an example. Customers can click the category name “Tokens” in the Categories block, and find all the token products in the store.
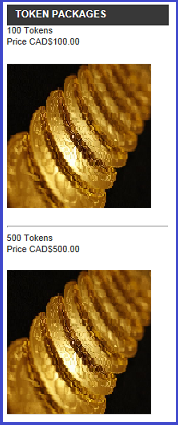
A specific block showing all the token products can be added on the home page by checking the “Token Package Block” option in the module’s configuration page. The default setting for the Token Package Block is “Do Not Display”. (See here for more instructions)
For example, we ctick “On Left Column” for this option and save the change.
![]()
A new block named “Token Packages” with token products listed appears in the left column on the home page.
To Purchase Token Packages
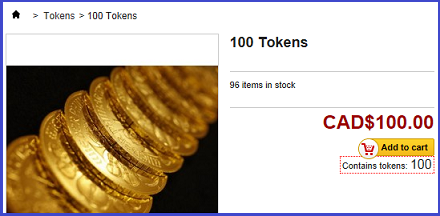
As the customer purchases any other products, they can add token products to their cart and check out as usual.
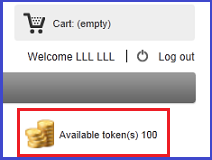
After the customer has purchased token products, a message appears on the top right of the screen under the customer’s account name which shows the token quantities the customer has in their account.
Token can be purchased by any payment method other than tokens.
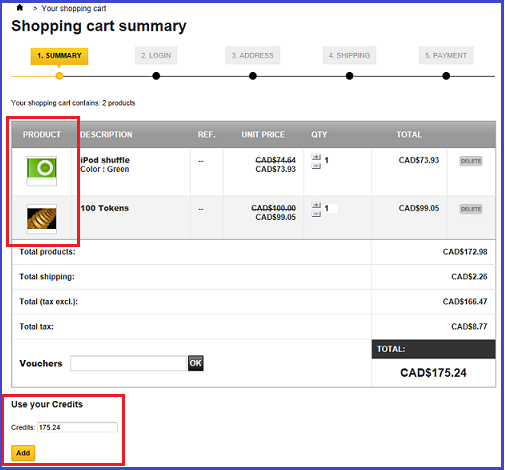
If the customer places normal products and token products in one shopping cart, and tries to add tokens while paying for the order, an error will appear saying that “You can not buy tokens using tokens”.

To View Token Balance
When the customer logs in, the token balance is always displayed on top right of the screen. The customer will always know how many tokens the currently have available, and be able to control their token usage.

To Purchase Other Products With Prepaid Tokens
When the customer has purchased tokens and has some quantity of tokens in their account, they can buy any other products with their tokens.
The customer will see a message box directly below the “Add to cart” button on the product’s detail page showing how many tokens are required for this product.
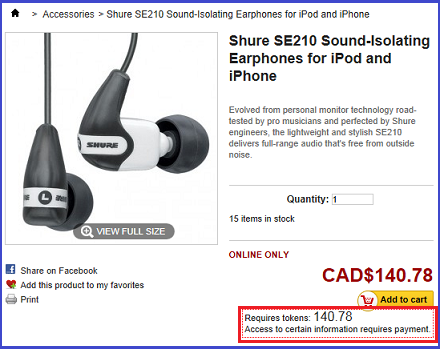
There are three different checkout modes available for the customer to choose from according to their needs. The customer will go through a different checkout process with every mode.
* One click checkout
This mode will simplify the PrestaShop default checkout process. The customer will be able to complete the order and payment in one click if they have enough tokens/credits for the selected product(s), or the customer will be directed to the token category to purchase more tokens if they don’t have enough tokens in their account.
* Normal checkout
The customer can use the shopping cart and purchase a number of products in one order. When the customer starts an order, they can choose if they want to use their tokens, and how many tokens they would like to use for payment. If necessary, they will go through the PrestaShop default checkout process to choose other payment methods for the balance.
* Combination
This setting will combine the above two checkout modes (one-click checkout mode and normal checkout mode). The customer will validate the order and complete the payment in one click if they have enough tokens for the selected product(s), otherwise they will be directed to the shopping cart summary page and make choices for payment methods.
Please find more details and screenshots on How to configure Agile PrestaShop Prepaid Credit module ( Part 2. Check out mode)
